
|
By Anna Hazard
Introduction
Grab bars are a necessity within the bathroom when it comes to aging in place as they can help prevent many falls and subsequent injuries within the area. In particular, the bathroom is the source of around 80% of the falls taken by 1 in 3 seniors every year within the USA (with a full 30-50% of those falls being avoidable as they were caused by environmental factors such as slippery surfaces, tripping hazards, poor lighting etc).
Due to this, installing grab bars and other safety features within the room should be one of the first procedures done when making a household more accessible. 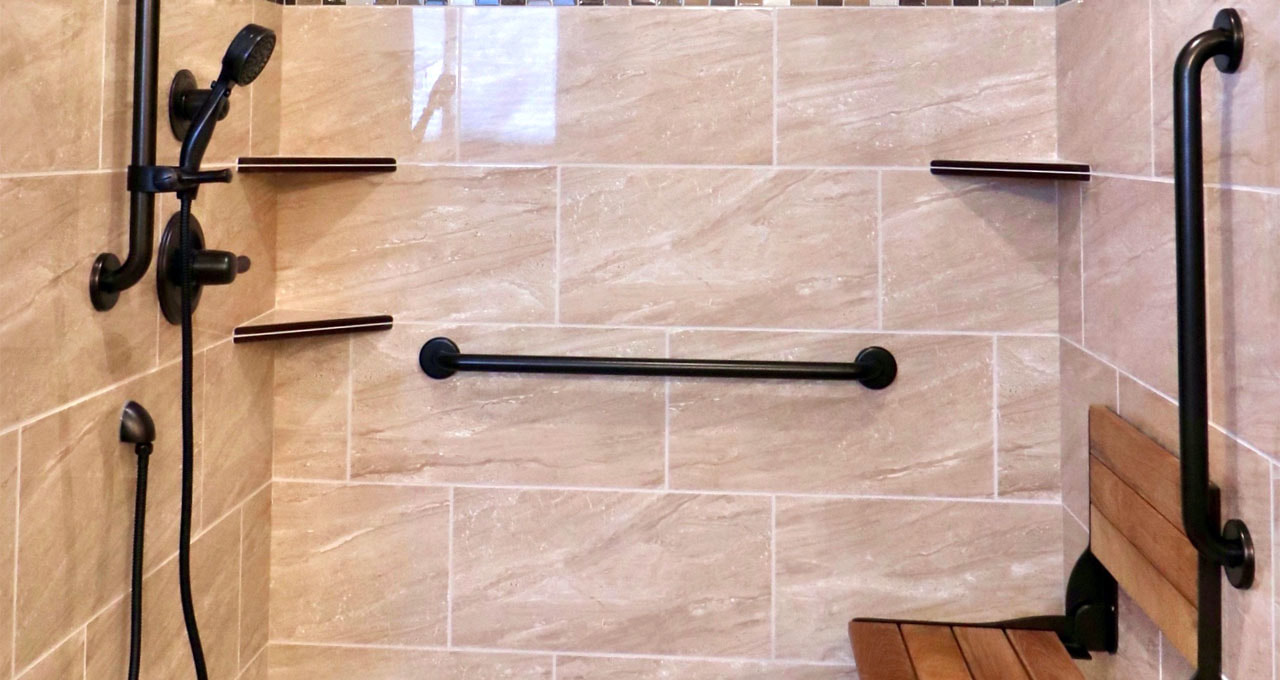
Available at Home Access Remodeling
Grab Bar Specifications
As grab bars are relatively inexpensive & easy to install and come in a wide variety of colors, designs, and materials to better match the surrounding trim and decor, there is little reason to delay their installation for safety reasons. Many decorative grab bar installations can also pull double duty as towel racks, toilet paper holders, or as part of built-in shelving.
If space within the bathroom is an issue, then foldaway, flip-up, hinged, or swinging grab bars and safety rails can be installed instead which can be folded away or flattened when not in use. Keep in mind that the drawback to this style is that the user must make certain that the grab bar is fully extended and properly locked in place when it needs to be used. Otherwise, for best results, the grab bar surface and design should be built so that it reduces the risk of a hand slipping while grasping it. This can be achieved with an easy-grip texture on the surface with the bar having a rounded shape with a diameter of 1¼" to 1½" across so that it comfortably fits within hands of varying sizes. Larger rails made of metal are recommended for sturdier installations that will be easier to clean and maintain within the moist confines of the bathroom. 
Bracing
As grab bars depend upon the strength and rigidity of the material to which they are mounted, they should be attached through the various bathroom walls and screwed into a wood or metal stud (taking care to avoid any wiring or plumbing that may be located within).
For safety reasons, bracing or mounting plates in the walls may often be required when installing grab bars (especially if there are no proper studs or solid wood in the location where the bar will be installed). The bracing should be able to support at least 250-300 lbs of weight (with closer to 400 lbs being optimal) and provide a proper surface for the grab bars to be bolted into with studs. In general, the areas of the bathroom that will require bracing are the walls around the tub or shower area entrance, near any tub/shower seating, as well as around the toilet. 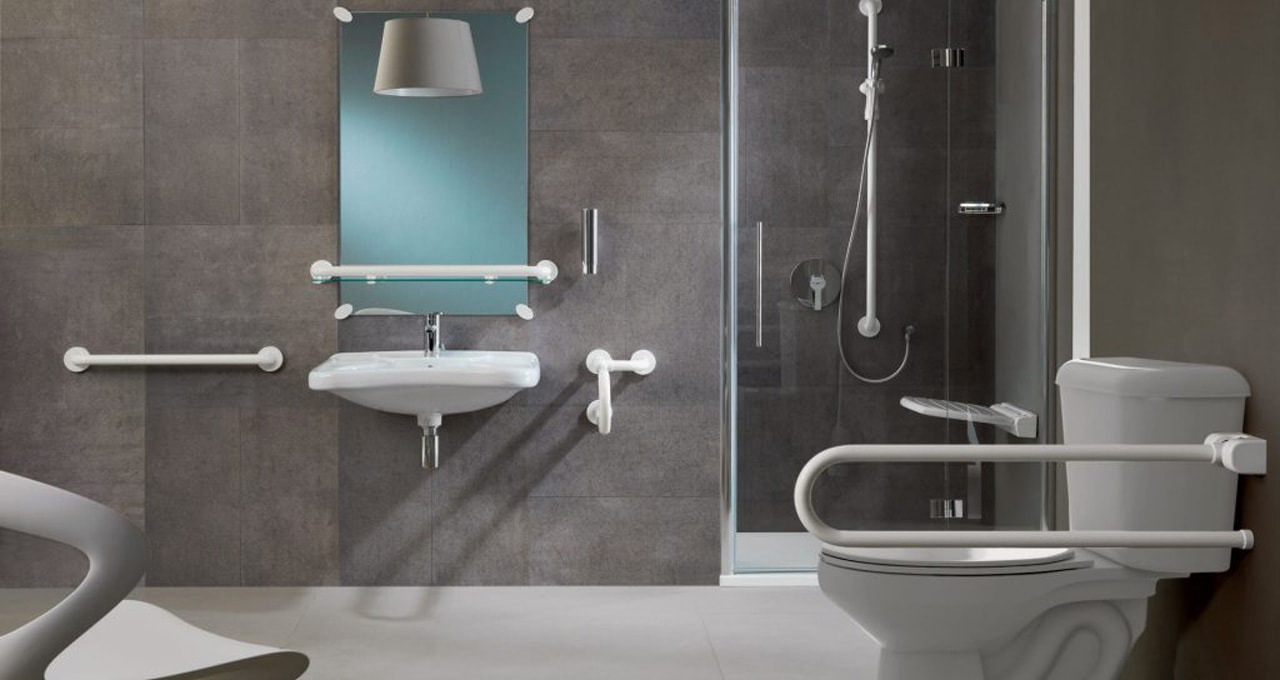
Available at Safety Bar USA
Grab Bar Location - General
Some locations where it's recommended to install grab bars within the bathroom include the threshold of the tub or shower, within the tub/shower itself, as well as near the toilet. Otherwise grab bars and handholds should be placed in the most likely locations where someone would reach out for support in case they lost their balance or where the user may require more support while performing a certain action (such as rising, sitting, or reaching for an object).
There should be about 1½" of clear space between the wall and the grab bar for fingers to comfortably fit around. In addition there should be a clearance of 1½" between any objects below or to the side of the grab bars as well as a clearance of a minimum of 12" for projecting objects directly above the bar. 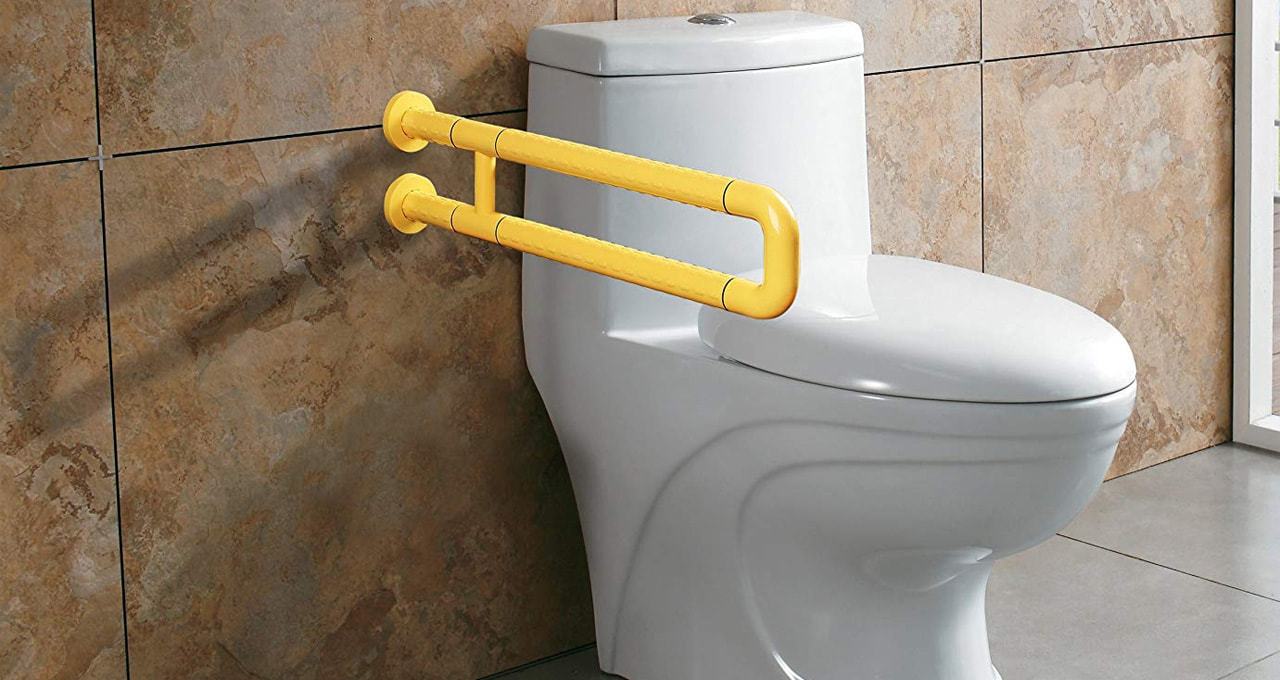
Available at Amazon.com
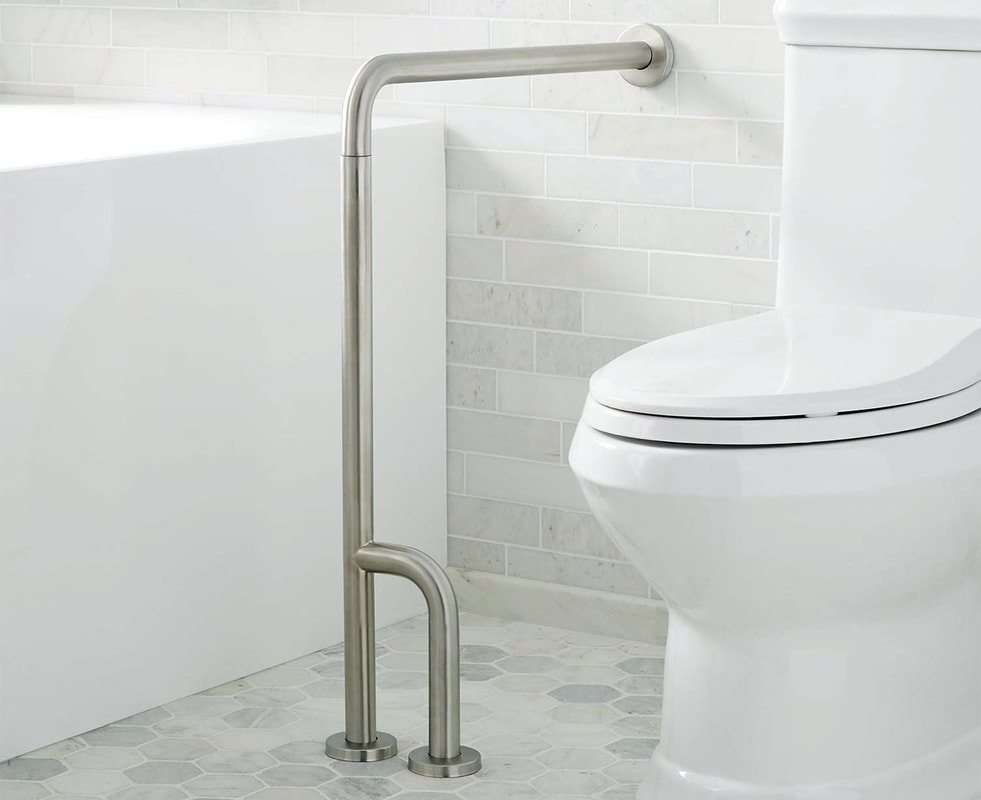
Grab Bar Location - Toilet
In particular, grab bars should be installed around the toilet area in order to help the user raise and lower themselves to the toilet seat. This includes placing a grab bar directly behind the toilet as well as on the wall besides it.
The ADA recommendation is for a grab bar of at least 36" long to be mounted about 33-36" above the floor surface behind the toilet. This should extend at least 12" from the center of the toilet towards the side wall as well as 24" from the center towards the open area. In addition, a minimum 42" bar should be installed on a side wall or partition next to the toilet. This side bar would be no further than 12" from the back wall and around 33" - 36" high from the floor surface (which would place it above the toilet paper dispenser). 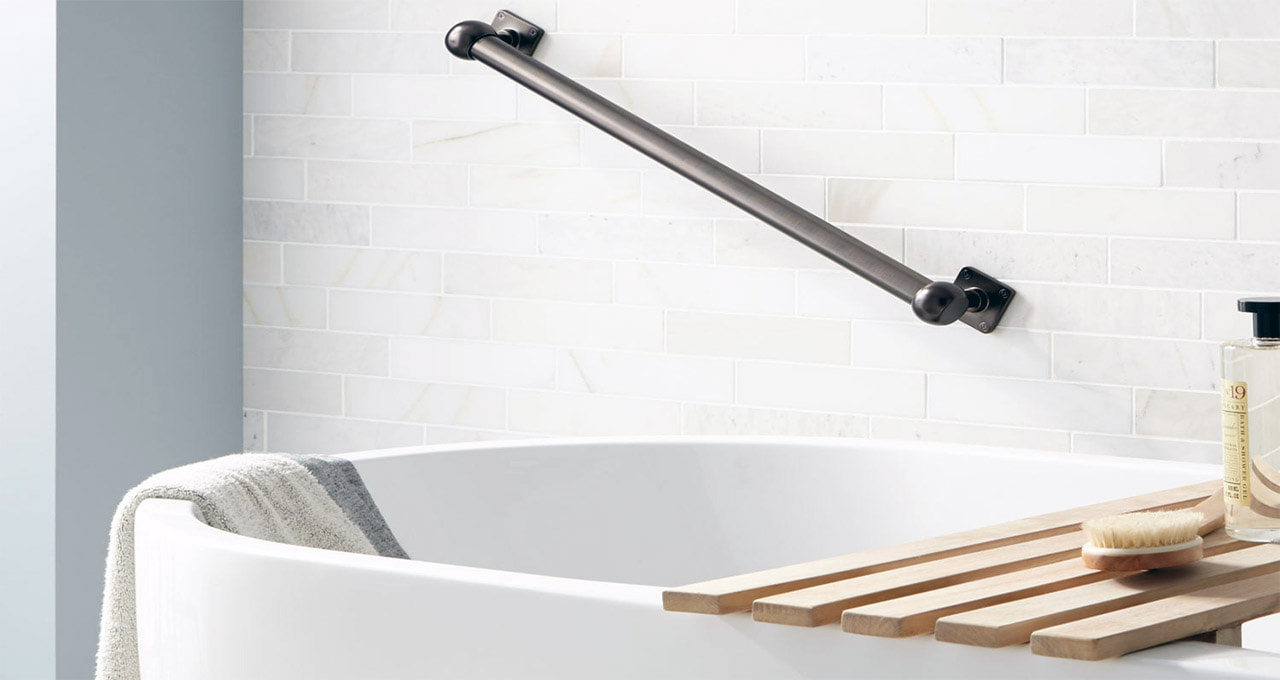
Available at Signature Hardware
Grab Bar Location - Showers & Tubs
A vertical grab bar at the front of the shower or tub entrance can provide the easiest access to support when stepping in and out of the bathing area. In addition, grab bars are recommended at the back and sides of the tub or shower (which tend to require extra reinforcement throughout the shower walls in order to be stable enough for proper support).
Besides the rails at ends of the tub or shower, a bar on the back wall at a diagonal slant is recommended for the easiest grip. Other handholds should also be installed within the actual bathing area in the most likely locations that a person would grab should they slip or fall while standing inside. For tubs, the ADA recommends that grab bars of minimum 24" be installed at the foot of the tub as well as two grabs bars mounted to the back wall. The back wall grab bars should be no further than 12" from the back of the tub and 24" maximum from the tub's head. One bar would be 9" above the tub rim and the other 33 - 36" above the bathroom floor surface. An additional grab bar at the head of the tub should be a minimum of 12" long. If the tub includes built-in seating at it's head, then the back wall grab bars should instead be a minimum of 48" long instead with no bar installed at the tub head. Otherwise, for shower stalls, the ADA recommends a u shaped grab bar (or three straight bars) be installed 33 - 36 at the threshold of the entrance. View the Rest of the Series
Part 1 - Introduction
Part 2 - Exterior Part 3 - Landscaping & Gardens Part 4 - Patio, Porch, & Deck Part 5 - Garage & Carports Part 6 - Entrances, Exits, & Thresholds Part 7 - Exterior Steps & Ramps Part 8 - Threshold Lighting & Windows Part 9 - Interior Doors & Halls Part 10 - Interior Steps & Staircases Part 11 - Interior Stairlifts Part 12 - Interior Elevators Part 13 - Interior Lighting Part 14 - General Interior Flooring Part 15 - Interior Flooring Comparisons Part 16 - HVAC & Energy Efficiency Part 17 - Power, Communications, & Other Interior Systems Part 18 - Living Room Part 19 - Kitchen Layout, HVAC, & Electrical Systems Part 20 - Kitchen Lighting, Flooring, and Sink Faucets Part 21 - Kitchen Countertops & Cabinets Part 22 - Kitchen Refrigerators, Freezers, and Dishwashers Part 23 - Kitchen Ovens, Ranges, Stovetops, and Cooktops Part 24 - Kitchen Microwaves, Blenders, & Food Processors Part 25 - Miscellaneous Kitchen Items Part 26 - Dining Room Layout, Tables, & Other Furniture Part 27 - Dining Room Flooring, Lighting, & Meal Serving Equipment Part 28 - Bedroom Layout & Closets Part 29 - Accessible Beds Part 30 - Bedroom Furniture, Electronics, & Other Accessories Part 31 - Bedroom Flooring Part 32 - Bedroom Lighting Part 33 - Bathroom General Layout Part 34 - Bathroom General Tips for Showers & Tubs Part 35 - Bathroom Accessible Tubs Part 36 - Bathroom Accessible Showers Part 37 - Bathroom Accessible Toilets Part 38 - Bathroom Sinks & Vanities Part 39 - Bathroom Cabinets & Shelving Part 40 - Bathroom Grab Bars Part 41 - Bathroom Flooring Part 42 - Bathroom Lighting Part 43 - Bathroom Ableware - Toilet Aids & General Accessibility Part 44 - Bathroom Ableware - Shower, Bathing, & Grooming Aids Part 45 - Laundry Room Location, Layout, & Spacing Part 46 - Laundry Room Carts, Rolling Hampers, & Chutes Part 47 - Laundry Room Dumbwaiters Part 48 - Laundry Appliances (Washers & Dryers) Part 49 - Laundry Room Cabinets, Shelving, & Countertops Part 50 - Laundry Room Storage & Organization
0 Comments
Leave a Reply. |
AboutNews updates, tips, and guides on senior care, senior health, stress relief and a host of other caregiving related topics from the professionals at Ella Stewart Care. |
 RSS Feed